![](https://nabeslog.com/wp-content/uploads/2023/07/5ba897d6d697425ab4b38f14e988b482-150x150.png)
当ブログ『36歳からのアイディアの脳みそ』の運営者のなべです。
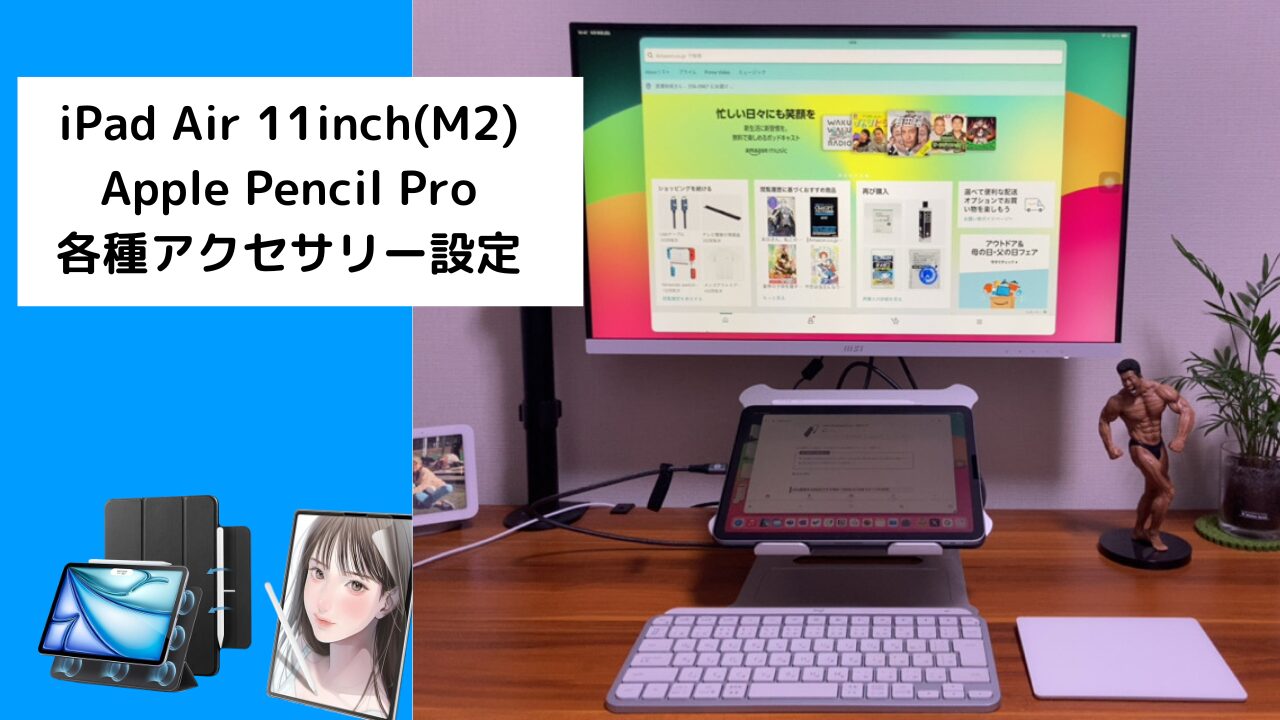
今回は、iPad Air(M2)とApplePencil Proが届きました。それぞれ開封とセッティングをしていきたいと思います。
5/7にAppleEventがあり、新型のiPad Pro、iPad Air、Apple Pencil Pro、iPad Pro用Magic Keyboardの製品発表がありました。5/8に注文して、iPad Airは5月15日に、Apple Pencil Proは17日に届きました。
今回は、iPad AirとApple Pencil Proの開封と各種設定とアクセサリーをそれぞれつけていきたいと思います。
事前に購入したペーパーライクフィルムとケースが問題ないか検証していきます。
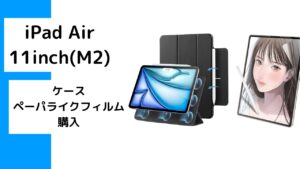
![](https://nabeslog.com/wp-content/uploads/2024/05/ipadairaccessories-thumbnail-300x169.jpg)
購入した商品の紹介
- ESRのiPad Air11インチケースはピッタリでした。
- 匠彩ペーパーライクフィルムはカメラの位置がズレていました。几帳面な方は再度購入した方が良いです
- 外部ディスプレイ出力用ケーブルを購入したが、Type-Cでないので、充電しながら利用したい場合は、再度購入をお勧めします。
![](https://nabeslog.com/wp-content/uploads/2023/07/5ba897d6d697425ab4b38f14e988b482-150x150.png)
ケース意外はミスりました。どうミスをしたのか記載します。
ESR iPad Air 11インチ ケース(2024) iPad Air 第5/4世代 ケースはこちら
ペーパーライクフィルムはこちら
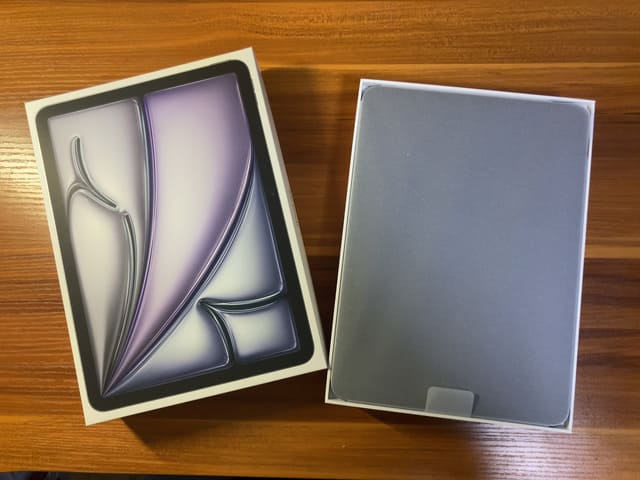
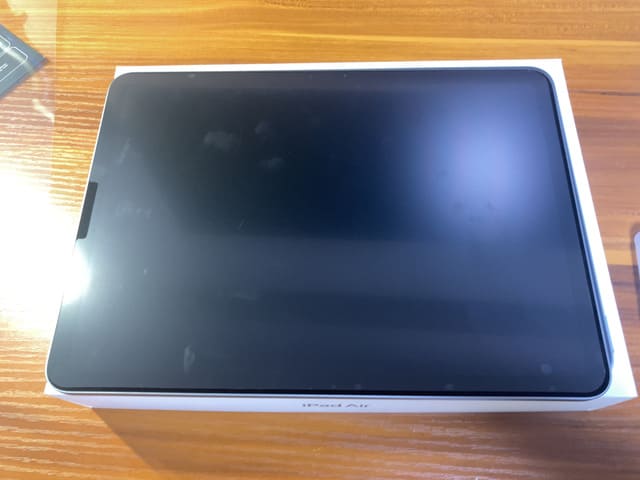
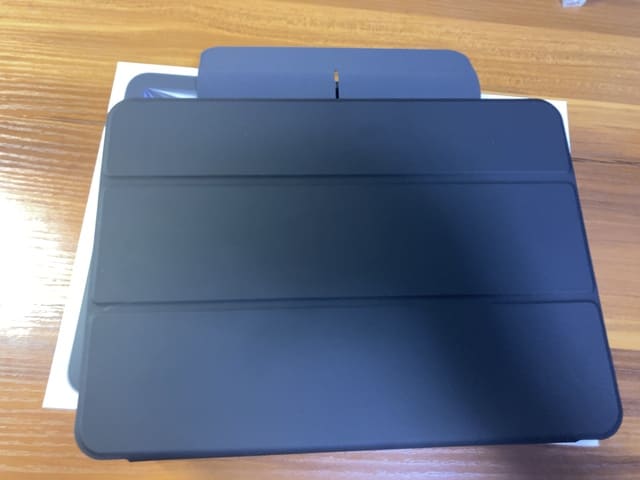
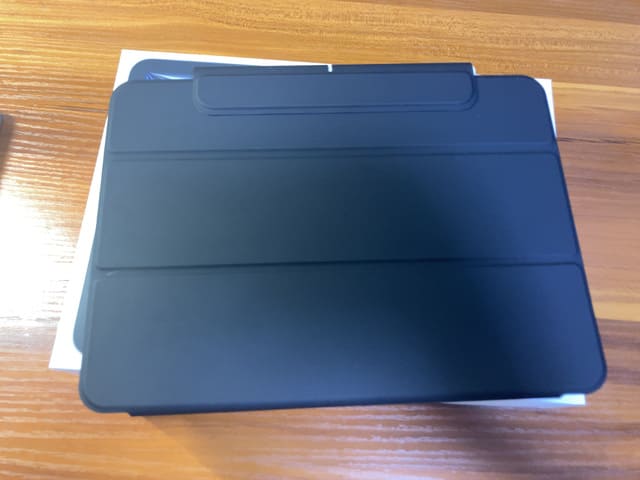
iPad Air 11inch(第6世代)の開封
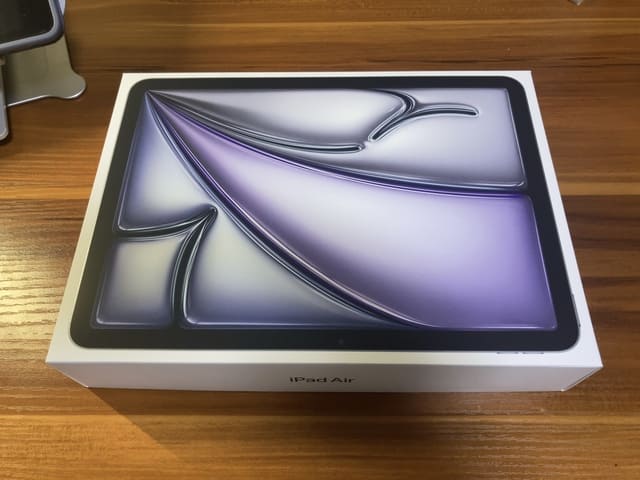
![](https://nabeslog.com/wp-content/uploads/2024/05/IPadAir-package1.jpeg)
![](https://nabeslog.com/wp-content/uploads/2024/05/IPadAir-package2.jpeg)
パッケージはこんな感じです。
![](https://nabeslog.com/wp-content/uploads/2024/05/IPadAir-package3.jpeg)
![](https://nabeslog.com/wp-content/uploads/2024/05/IPadAir-package6.jpeg)
![](https://nabeslog.com/wp-content/uploads/2024/05/IPadAir-package4.jpeg)
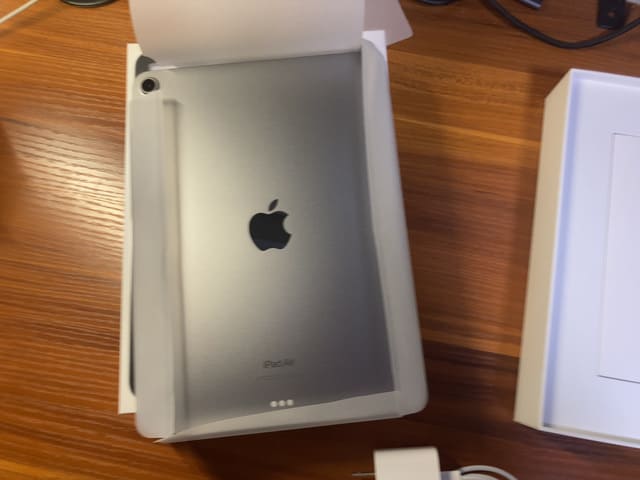
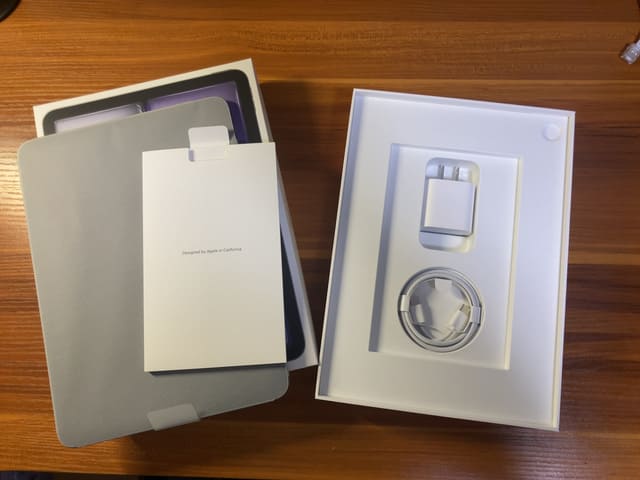
本体とTypeCケーブルと充電器が同封されています。
![](https://nabeslog.com/wp-content/uploads/2024/05/IPadAir-open1.jpeg)
指紋がつくのが嫌なので先にペーパーライクフィルムをつけました。今回カメラがセンターに移動したことで、対応機種でなかったためカメラがフィルムに埋もれてしまいました。また旧カメラの位置が空いてしまっています。
![](https://nabeslog.com/wp-content/uploads/2023/07/5ba897d6d697425ab4b38f14e988b482-150x150.png)
対応した製品を選びましょう、、、、残念だけど、インカメラそんなに使わないのでこのままいきます。
iPad Air 11inch(第6世代)とiPad 第9世代と比較
![](https://nabeslog.com/wp-content/uploads/2024/05/IPadAir-ipad9th4.jpeg)
![](https://nabeslog.com/wp-content/uploads/2024/05/IPadAir-ipad9th1.jpeg)
![](https://nabeslog.com/wp-content/uploads/2024/05/IPadAir-ipad9th2.jpeg)
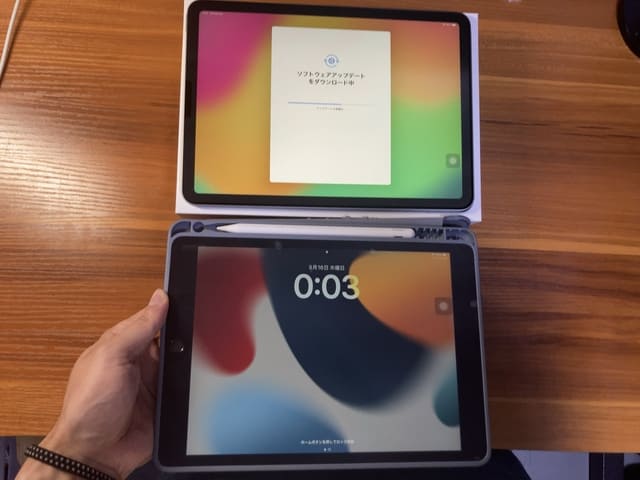
iPad第9世代はボタンが付いていましたが、iPadAirにはボタンがないためその分画面が広くなりました。
iPad Air 11inch(第6世代)のケース装着
![](https://nabeslog.com/wp-content/uploads/2024/05/IPadAir-ipad9th5.jpeg)
![](https://nabeslog.com/wp-content/uploads/2024/05/Ipadair-case4.jpeg)
![](https://nabeslog.com/wp-content/uploads/2024/05/Iapdair-case1.jpeg)
![](https://nabeslog.com/wp-content/uploads/2024/05/Ipadair-case3.jpeg)
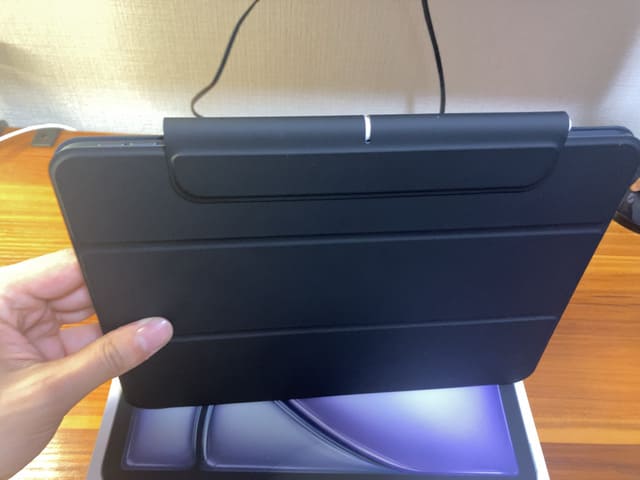
こちらは対象機種となっていたのでピッタリでした。マグネットですが、強力なのでしっかり装着されています。
Apple Pencils Proの開封
![](https://nabeslog.com/wp-content/uploads/2024/05/Pencil-pro-packege1.jpeg)
![](https://nabeslog.com/wp-content/uploads/2024/05/Pencil-pro-packege4.jpeg)
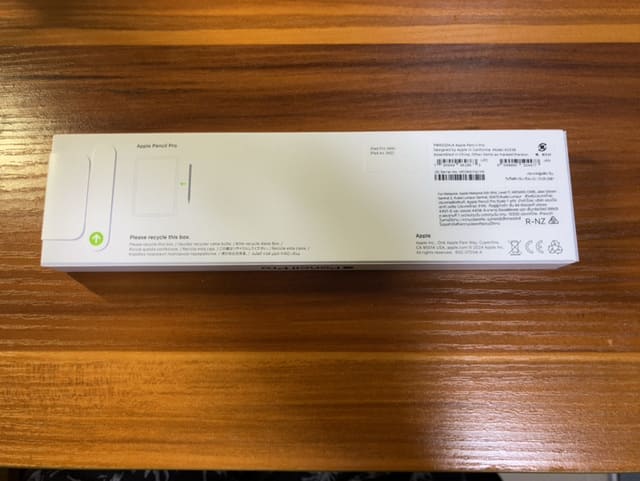
ケースは鮮やかなオレンジ色の帯がApple Pencil Proの中心に描かれています。
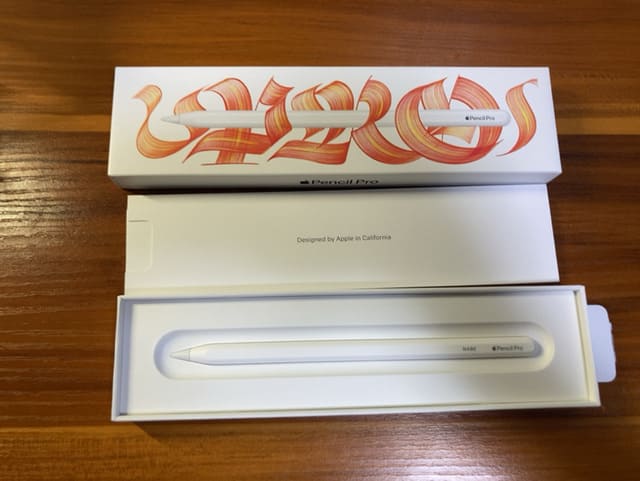
![](https://nabeslog.com/wp-content/uploads/2024/05/Pencil-pro-packege7.jpeg)
開封するとこんな感じです。
![](https://nabeslog.com/wp-content/uploads/2024/05/Pencil-pro-packege6.jpeg)
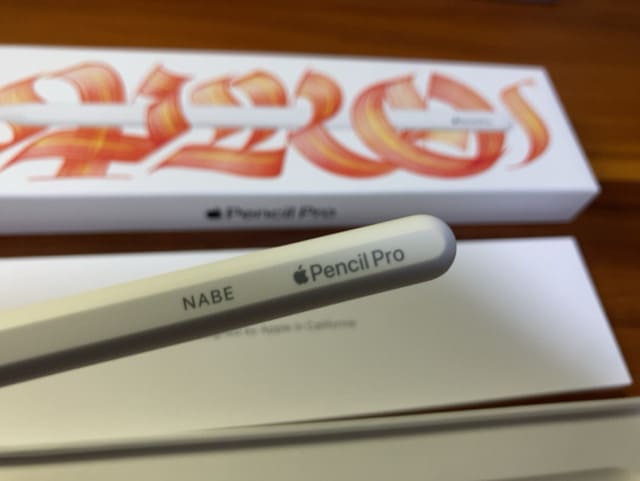
前回Apple Pencilを使っていましたが、娘が車で紛失してサードパーティ製のペンシルを使っていました。今回のApple Pencil Proは「探す」機能が追加されているので嬉しいですね。刻印も無料だったので、名前を入れました。
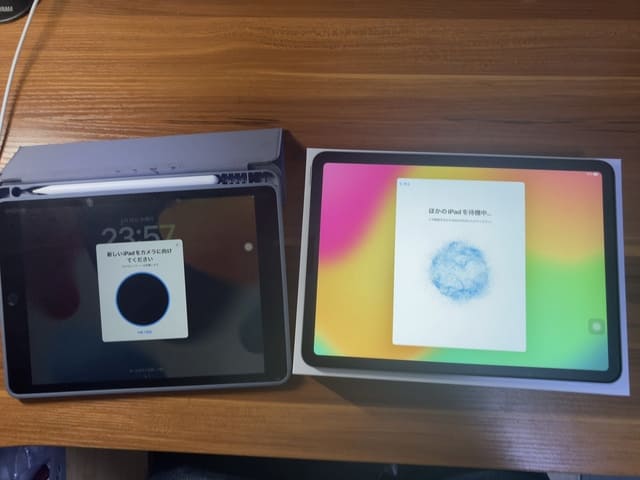
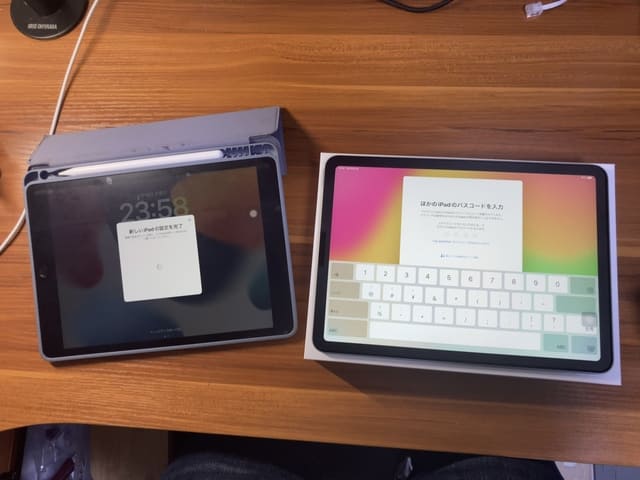
iPadからiPad Air 11inch(第6世代)のデータ移行について
旧iPadから新iPadへの移行は簡単なはずが・・・
![](https://nabeslog.com/wp-content/uploads/2024/05/IPadAir-ipad9th1.jpeg)
本来は新iPadの描かれた丸を旧iPadから読み込むとデータ移行や各種設定がされるはずなのですが、なぜかうまくいきませんでした。なので初期状態から利用していたアプリやホーム画面の設定をしなければならず、約2時間かかりました。
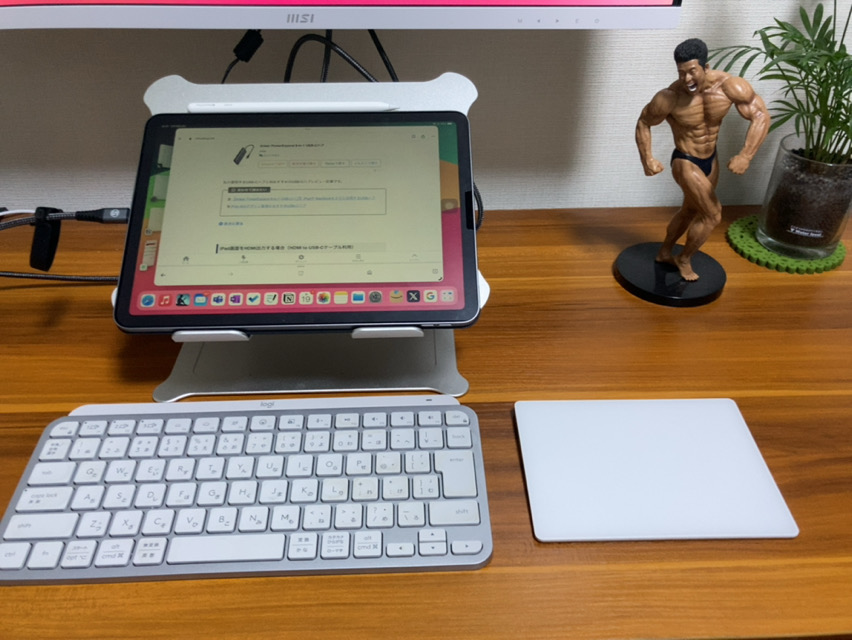
iPad Air 11inch(第6世代)各種周辺機器の設定
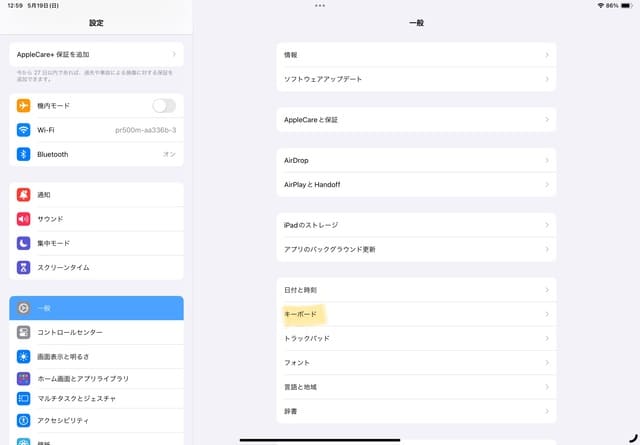
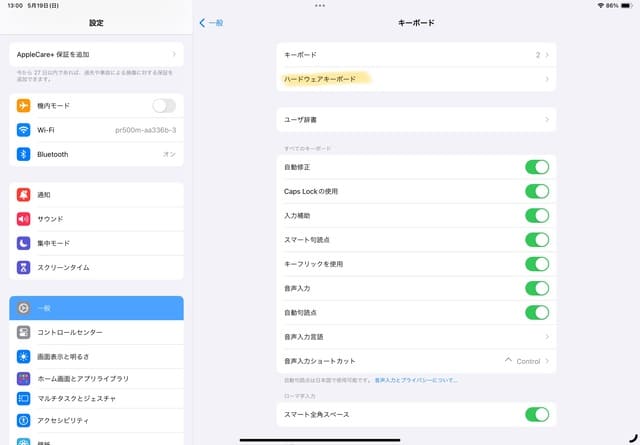
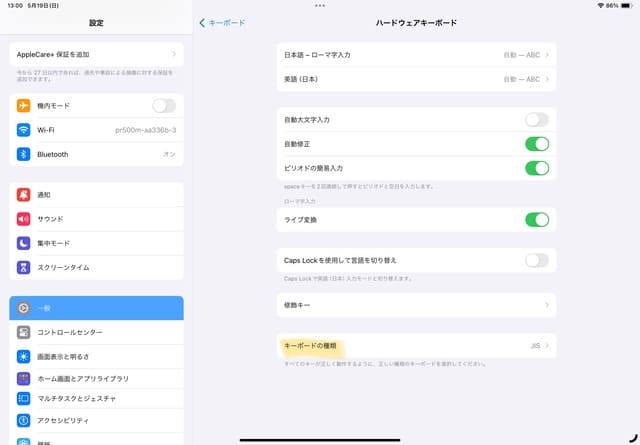
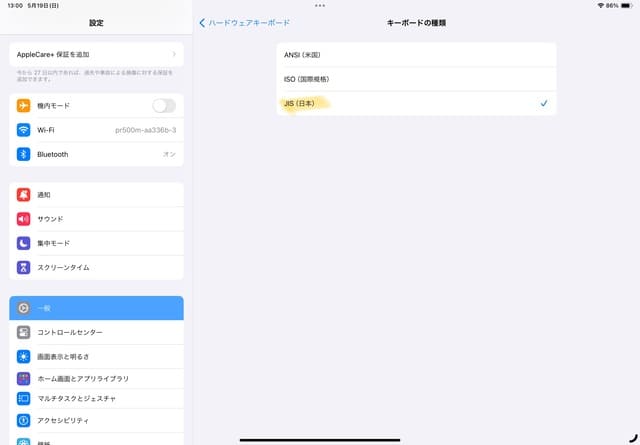
キーボードの設定
![](https://nabeslog.com/wp-content/uploads/2024/05/IMG_5096.jpeg)
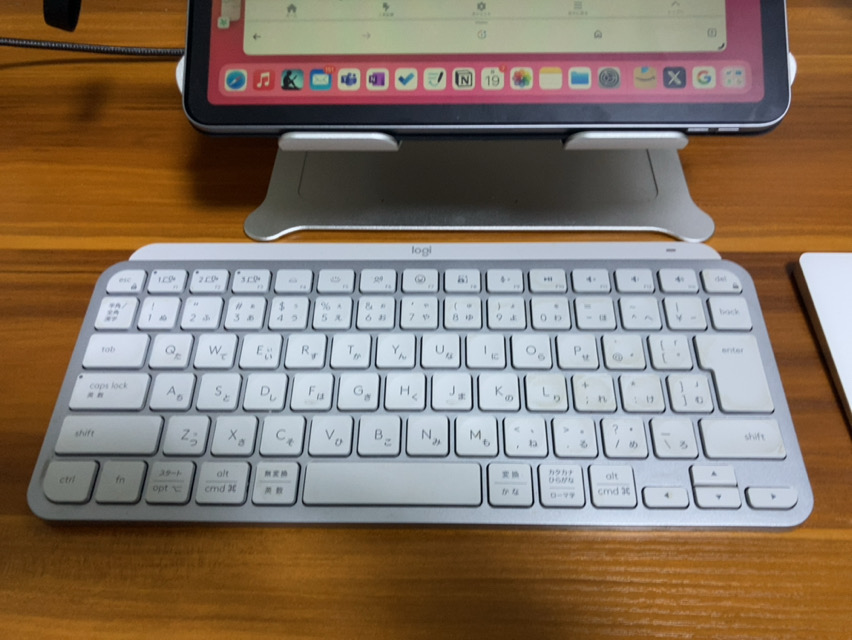
私は、会社のPCでロジクールのMX Keys Miniを使っています。最大3つまで接続できるので1つをiPad Airと接続しました。注意点は、そのままでは、JIS配列で入力できないため、iPad側でJIS配列に設定する必要があります。
MX Keys MiniをiPadで使うための設定はこちら
![](https://nabeslog.com/wp-content/uploads/2024/05/jis-setting-1.jpeg)
![](https://nabeslog.com/wp-content/uploads/2024/05/jis-setting-2.jpeg)
![](https://nabeslog.com/wp-content/uploads/2024/05/jis-setting-3.jpeg)
![](https://nabeslog.com/wp-content/uploads/2024/05/jis-setting-4.jpeg)
マウスの設定
![](https://nabeslog.com/wp-content/uploads/2024/05/IMG_5097.jpeg)
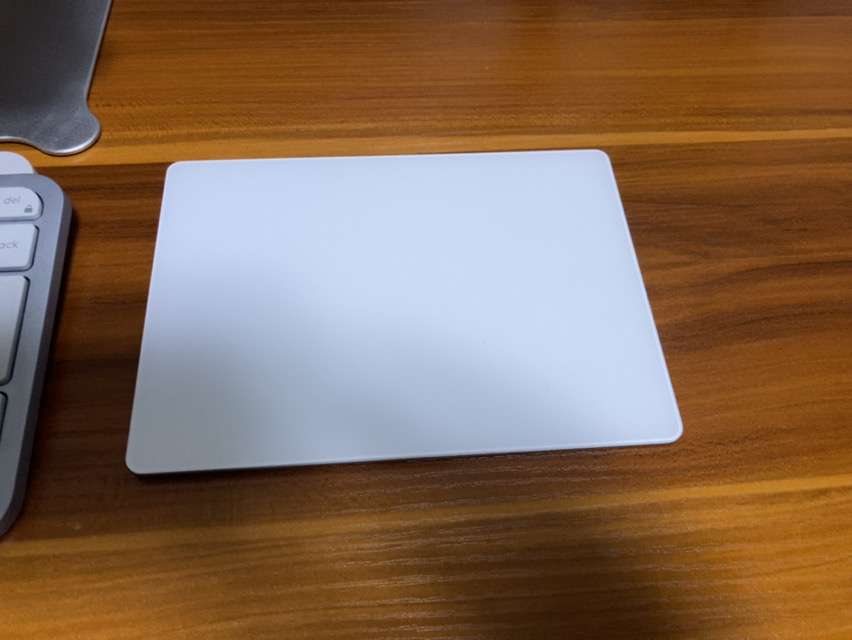
AppleのMagic Trackpadを接続しました。指での操作がやはりiPadは便利ですね。
外部ディスプレイの設定(USB-Cケーブルには注意!!)
![](https://nabeslog.com/wp-content/uploads/2024/05/IMG_5094.jpeg)
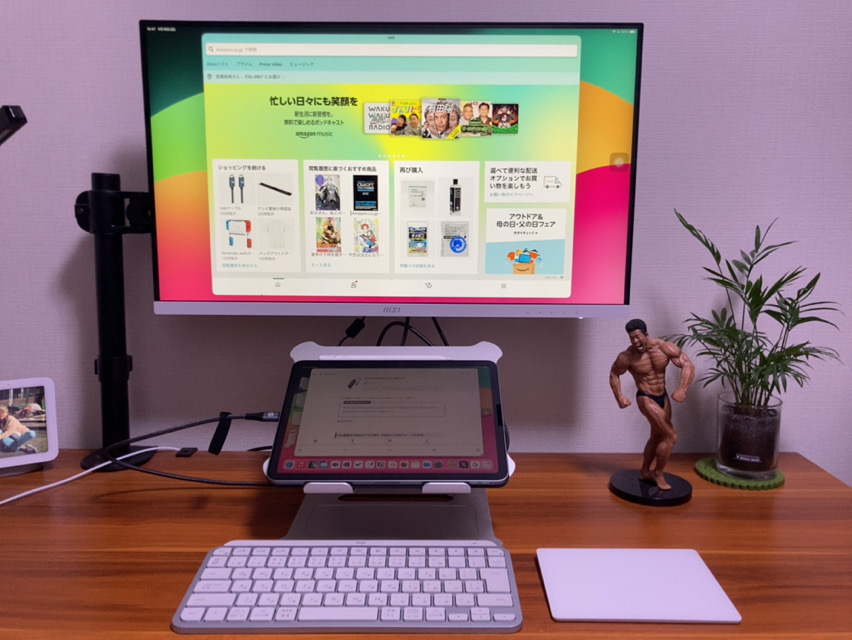
普段ディスプレイと社用PCはTypeCtoTypeCで接続しています。そのまま使えると思いましたが、使えませんでした。
USB Power Delivery(USB-PD)に対応したUSB-C接続のディスプレイ(以下、USB-Cディスプレイ)とはUSB-Cケーブル1本で接続でき、iPadへの電源供給もディスプレイ経由で行えます。
ただし、この場合1点注意したいのは使用するケーブルです。USB-Cケーブルであればどんなものでも接続できるわけではなく、映像信号を伝送することのできるAlternate Modeに対応し、かつUSB PDにも対応したケーブルが必要となります。
間違えてHDMIケーブルを買ってしまいました(笑)写真見ているとTypeCだと勘違いしました。仕事で疲れていたのかもしれません。
![](https://nabeslog.com/wp-content/uploads/2024/05/IMG_5095.jpeg)
外部ディスプレイに繋いだ様子です。マルチモニターでiPadで作業ができるのは便利ですね。この記事もiPadで作成しています。写真のリサイズや圧縮から記事の企画までiPadで完結できるか検証していきます。
HDMIケーブルではiPadを充電しながら作業できないのでTypeC接続可能な外部ディスプレイをお持ちの方はTypeCtoTypeCケーブルをお勧めします。以下に製品のリンクを貼っておくのでぜひご確認ください。
まとめ
本記事はiPad Airが届いたので各種アクセサリーの設置と設定についてまとめました。
購入した商品の紹介
- ESRのiPad Air11インチケースはピッタリでした。
- 匠彩ペーパーライクフィルムはカメラの位置がズレていました。几帳面な方は再度購入した方が良いです
- 外部ディスプレイ出力用ケーブルを購入したが、Type-Cでないので、充電しながら利用したい場合は、再度購入をお勧めします。
ESR iPad Air 11インチ ケース(2024) iPad Air 第5/4世代 ケースはこちら
ペーパーライクフィルムはこちら
外部ディスプレイに接続するためのHDMIケーブルはこちら
関連記事
![](https://nabeslog.com/wp-content/uploads/2024/05/ipadairaccessories-thumbnail-300x169.jpg)
コメント